

Recently I have been busy with renovation work on and moving into the new house. This explains why Dice Daniel has kept a lower profile lately. By now, the move has been completed and we are mostly working on the details. Going from an apartment to a somewhat larger house creates opportunities and also some extra space. Among which is a game room – and of course a dedicated gaming table should be a part of that room. Fortunately, we were able to realize a first version with some amateur DIY fiddling and a professional play mat from Playmats.eu. So we thank Playmats for making this project possible.
Background
If people are interested, I also like to write something about the remodeling and decoration of the games room, because that was also in itself a project full of surprises. In fact, we ended up expanding the entire attic (which served as a simple bedroom and storage space for the previous residents) into a multipurpose room with home office, games room and an enclosed laundry room and storage area. But in this blog we will limit ourselves to the gaming table.
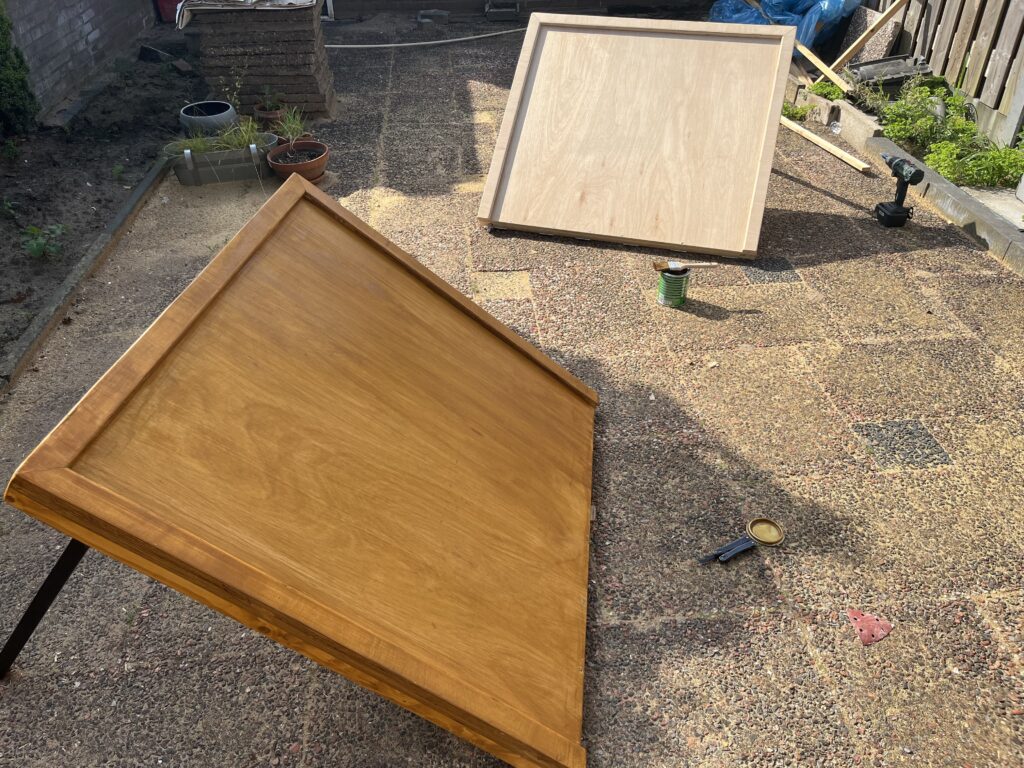
Why the need for a gaming table and why specifically a DIY gaming table? Previously, we played games mainly on the now characteristic solid mango wood table that also served as a dining table. Games were played in the living room, but because of the remodeling, we thus had a gaming room and of course, games you want to play especially in that room. So there was a need for a new table, because there was no room in the attic for a large and heavy dining room table. Besides, that table still serves as a dining table and you can’t just eat off the floor.
By the way, this is not the first time I made my own gaming table. Followers of Dice Daniel may remember that previous gaming table. That lower and smaller table consisted of a wooden tray with steel legs with removable tabletops. The tray could hold a 1,000-piece puzzle and a smaller game. The current project is the big brother of that table.
The goal
So there was a need for a new table. The table had to provide enough space for multiple players and accommodate even the larger games such as Twilight Imperium and RPG sessions. On the other hand, attic space is somewhat limited. That presented a challenge. In addition, game tables are not cheap, and the elaborate models you can get through recognized makers such as Wyrmwood and GeeknSon are not cheap (but well worth the money). Initially a round table on wheels was the idea, but a round table, despite what King Arthur will argue, is not always the most practical shape for board games. Hence, we decided to make a collapsible gaming table, since a collapsible game table made of wood in this size is not for sale.
- The sub-goals were therefore as follows:
- Rectangular;
- Limited weight;
- Foldable;
- Raised edge, but not too high or too deep (often the raised edge is not comfortable or ergonomic);
- A custom-made mat (courtesy of Playmats.eu); and
- The ability to expand with accessories. More on that later.
In the end, most of the goals were met, with the exception of the limited weight. In fact, the final table turned out heavy. Not as heavy as the solid mango wood dining table, but heavy enough that you need two people to set it up comfortably. You’ll eventually manage on your own, but it’s not very convenient. Besides, moving the table is a good exercise during your strength training routine. Therefore, get the creatine ready in advance….
As for the accessories, that will be another project in itself. Once the accessories are ready, we will write a separate blog about them.
The Process
The real work began with several brainstorming sessions with several helpful friends who were all only too happy to share their possible solutions and other input. Initially, as always, it started out way too ambitious with railing systems for drink holders and other accessories, but eventually we settled on a simple design and did several sketches to assess how much wood and what other materials we would need based on that.
Because I like tight deadlines, like to do multiple projects at once and couldn’t sit still during quiet moments outside the remodel, I thought it would be convenient to take on this project while the remodel was still in full swing. This was met with much surprise, but it eventually worked out without jeopardizing the remodel (pfhew….).
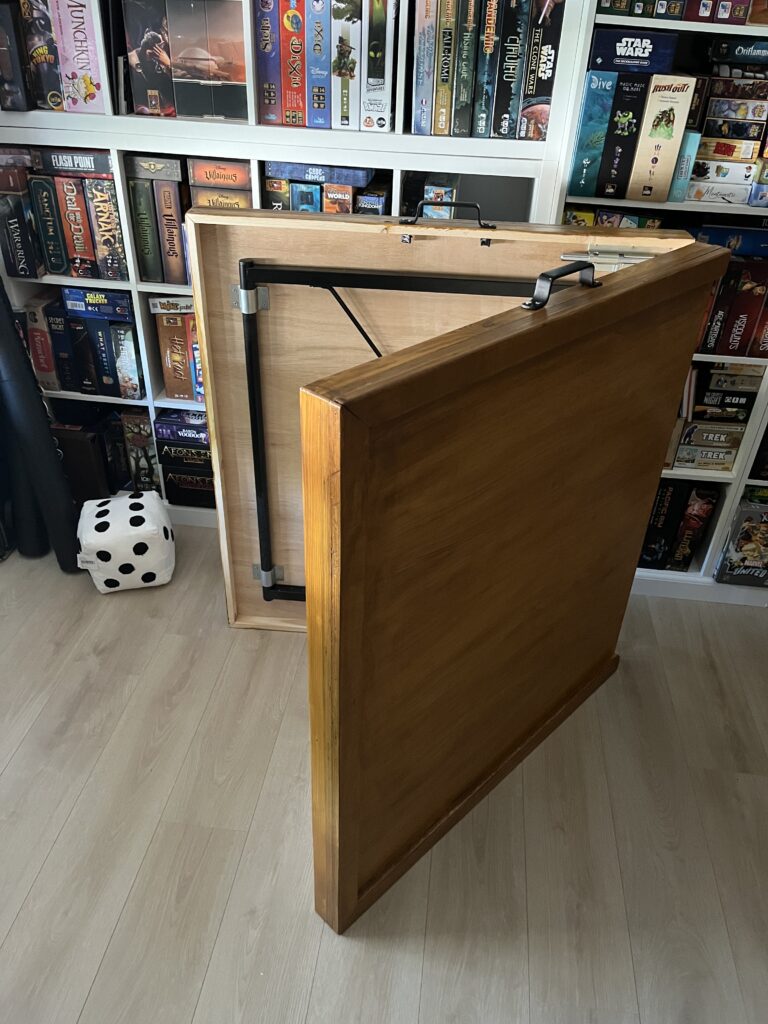
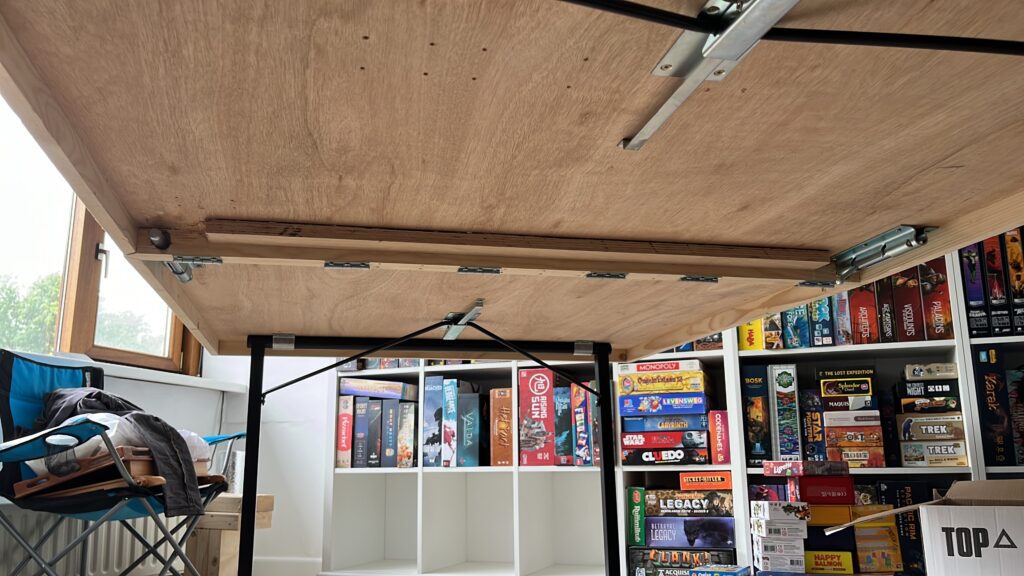
The design of the table consisted of two separate tabletops, with a raised edge and under the tabletop some thin beams to fold away the folding legs. The tabletops had to be held together with some heavy hinges, which would allow the tabletops to stay upright by their own weight, but fold away.
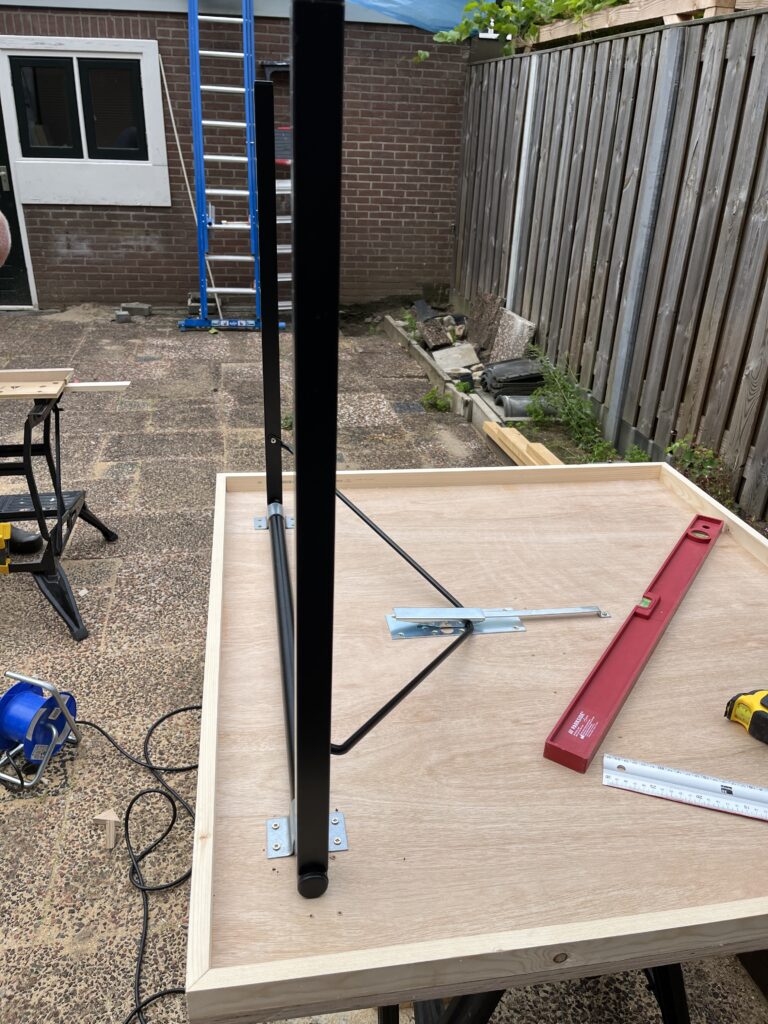
We decided to make the tabletops and edges with plywood and make the beams from pine, because the table is indoors and it all couldn’t cost the world. One important part we did not make ourselves were the legs. In fact, early in the design process it became clear that folding legs made of wood would make the table too heavy and probably the folding system would not work very smoothly. So I decided to look for readymade table legs used to make so-called beer tables. A friend come across a company in Gelderland (the Netherlands) where you could buy such folding legs in multiple styles and sizes. That turned out to be ideal.
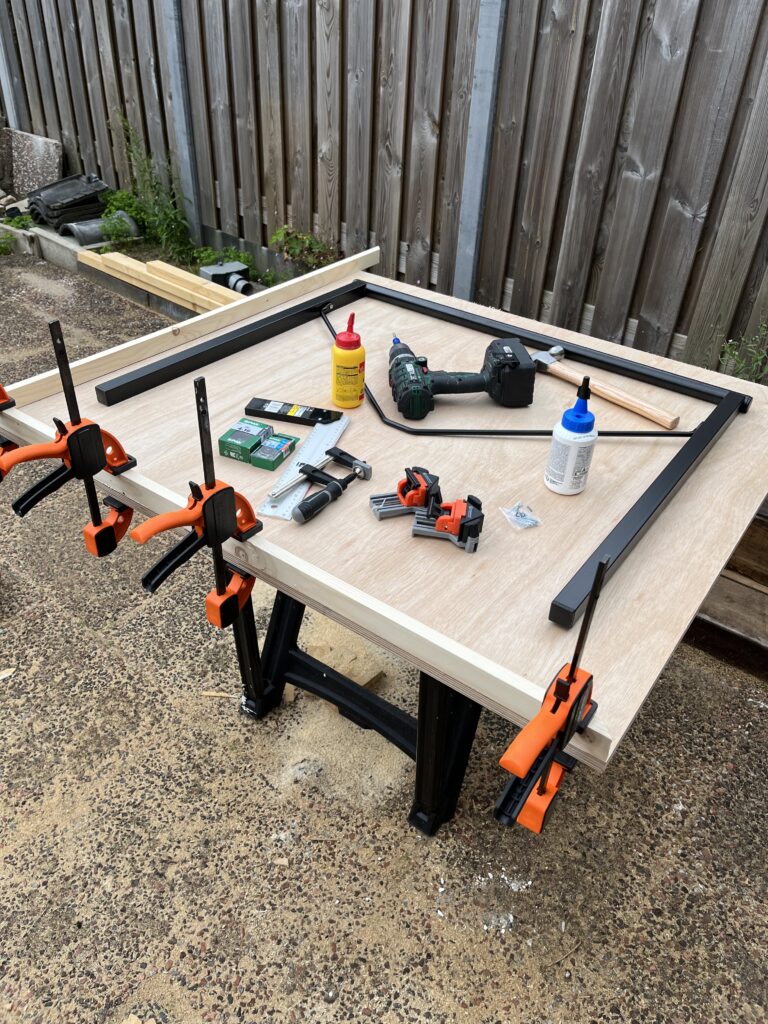
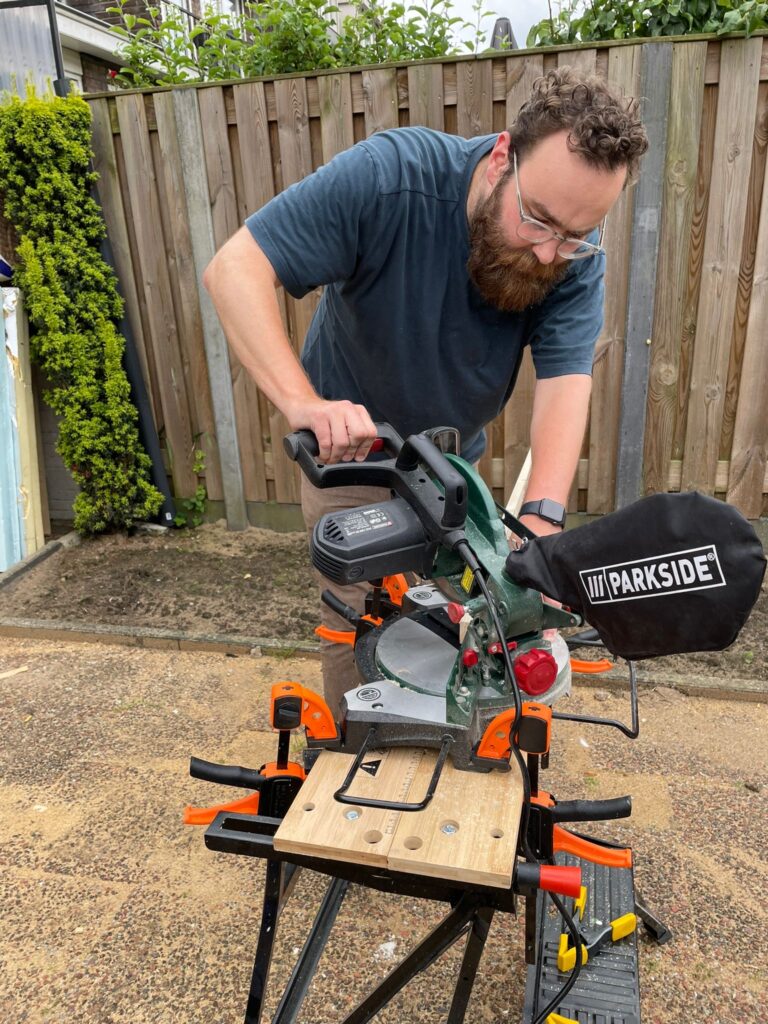
We had the plywood panels cut to size at the hardware store so we could easily transport them in the car. At home we could finish the boards neatly to work on the table top. The edges were cut to size with the table saw and the miter and crosscut saw. The beams were also cut to size with the miter and crosscut saw. Since the beams have to bear quite a bit of weight because of the hinges, we secured them with a combination of wood glue a sturdy screws that we attached through the top of the table top. We were then able to hide the screws with the edges of the table top which we attached with a healthy amount of wood glue. We then fixed and leveled the table legs at the bottom, which basically meant the structure was already mostly functional by the time we would attach the hinges.

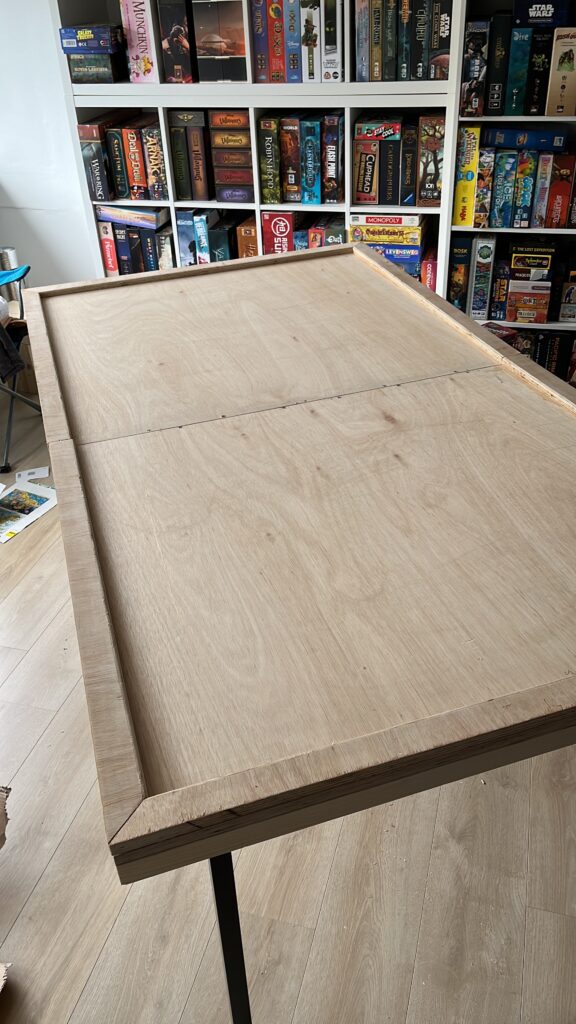
Using the router, we rounded the inside edges of the table top before gluing them to the table top. We rounded the edge of the table with the sander. After the rough work was completed, the much sanding could begin. After the sanding, the table was put in a water-based stain to protect and color wood. Then to finish the table smooth and protected, we applied several coats of water-based varnish. The table is now functional!
Play mat and accessories
Initially we wanted to make a mat out of felt, but such a mat is dusty and sticky. Velvet does not roll up as easily, and the mat had to be rollable and take up as little space as possible.
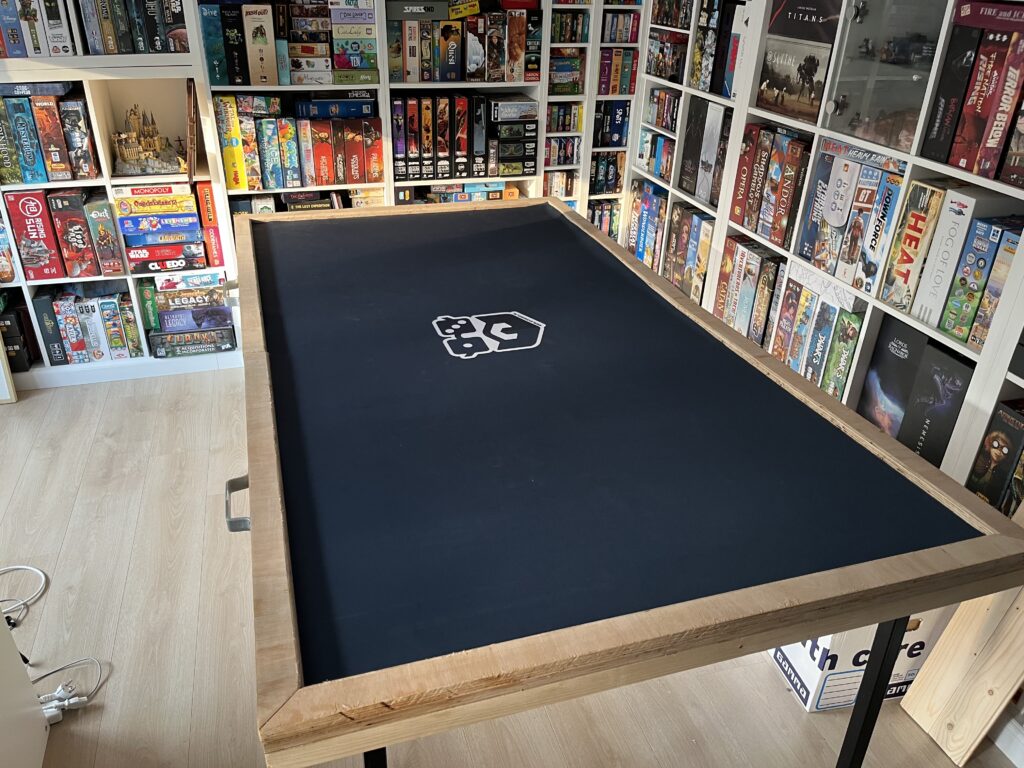
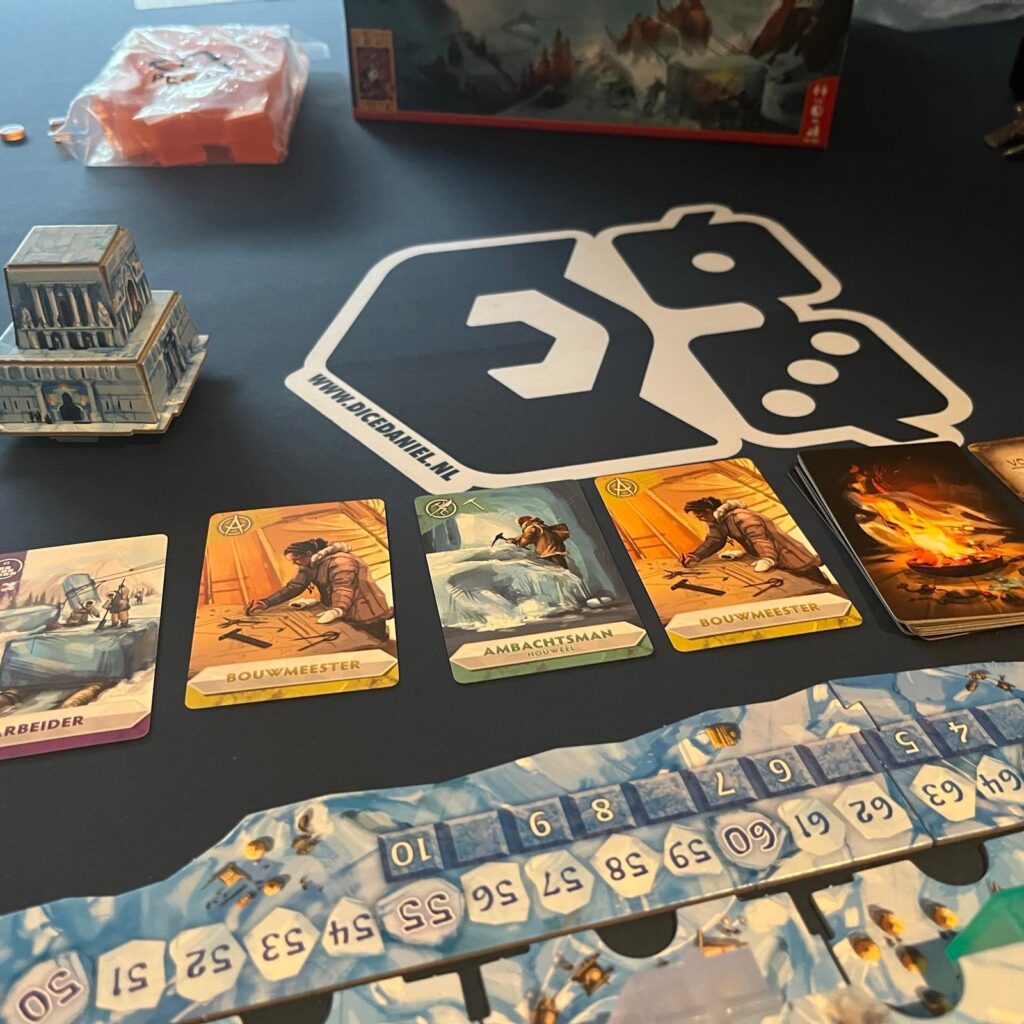
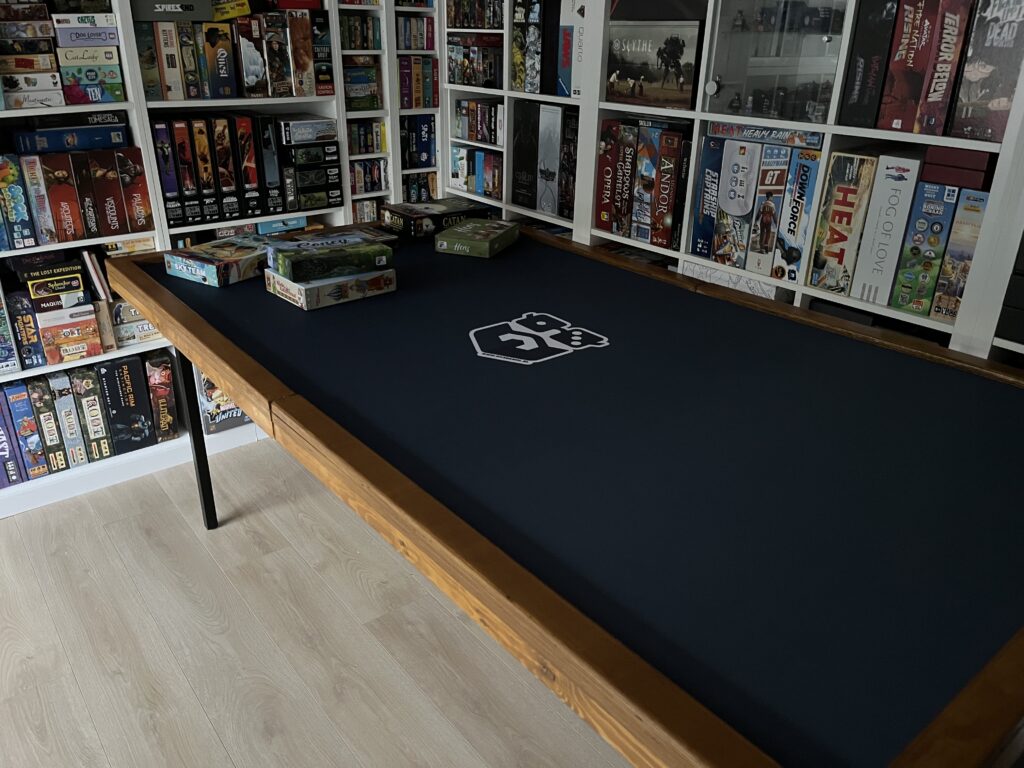
Fortunately, Playmats.eu was happy to collaborate on this project and they designed a beautiful yet elegant custom play mat for our table. Playmats.eu’s play mats are high quality and they can have mats custom made with your own design. Perfect for when you want to design your own game table. You easily pick up cards on the folder and parts slide smoothly across the surface. The mat also rolls up very easily for storage. We bought two velcro cable organizers with a metal ring at the local hardware store so we can even hang the play mat on the inside of the table and easily remove it.
Playmats.eu also designs other accessories such as dice trays and coasters that are perfect for any game night.
Next up for this table are the accessories. Soon we will be designing individual shelves where players can store their game pieces and throw their dice. Cup holders obviously can’t be missing either. What accessories would you guys like to see? Stay tuned!